
Backsmocking explained
Backsmocking is smocking worked from the back, or wrong side, of the pleated fabric. Sources describe it in slightly different ways, so this guide keeps to the literal meaning and to what to check.
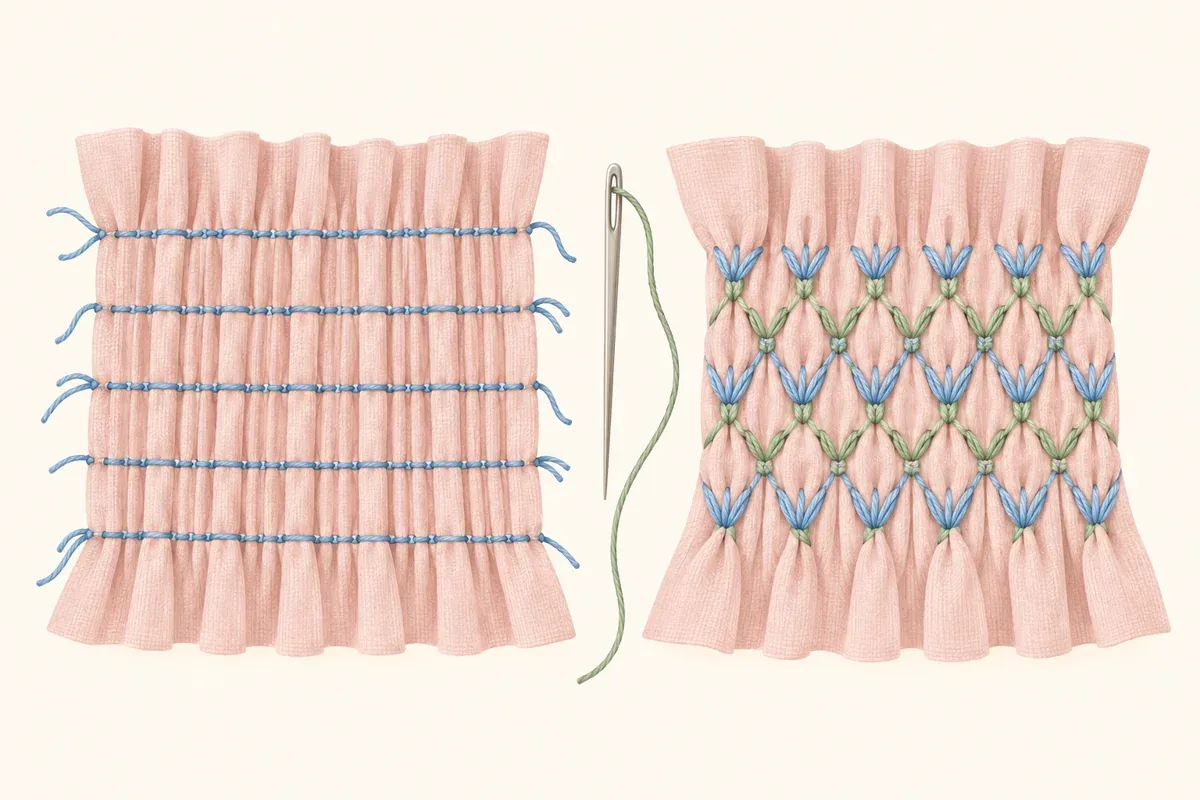
The idea
Normal smocking is worked with the right side facing you. For a backsmocked row you turn the pleated panel over and stitch along a pleater line from the reverse. Work the row along the pleater line as the pattern directs.
When to consider it
- If a pattern calls for backsmocking, follow its instructions for which rows are worked from the wrong side.
- Check what the row is meant to do before you add one of your own.
- Test the row on a scrap of pleated fabric first.
Keeping the work even
- Keep the holding threads in place until the back rows are finished.
- Use the same tension as the surface rows.
- Check the front after each row; the pleats should still be parallel.
- Do not remove the pleater threads until you have checked the whole panel.
Charting
The plates on this site chart surface stitches only. If you want to add a backsmocked row, use one of the holding rows the plate already counts. For a practice piece, try it under Three Cable Rows.
Why the wording matters
Sources describe backsmocking in slightly different ways, so treat any single definition with care. The one safe reading is the literal one: a row worked from the wrong side of the pleated fabric. If a pattern you are following uses the word, check its own instructions for which rows are meant and how the thread should run.
Practice first
Pleat a scrap of the same fabric, work one surface row and one row from the back, then stretch the scrap gently. You will see how each row behaves before you commit to the real panel. Keep notes on tension and thread so the result can be repeated on the garment.
Questions to answer before you start
| Question | Where to find the answer |
|---|---|
| Which rows are worked from the back? | The pattern you follow should say. Do not guess. |
| Which pleater line does each row follow? | Mark the line on the back before you begin. |
| What thread and how many strands? | Use the same as the surface rows unless the pattern says otherwise. |
| When are the holding threads removed? | Only after every row is finished and checked. |
A practice routine
- Pleat a short scrap of the fabric you plan to use.
- Work one row from the front, using the plates on this site as a guide.
- Turn the scrap over and work one row from the back on a different pleater line.
- Compare the two rows on the front and note the difference in pleat behavior.
- Write your tension and thread choices on the scrap and keep it with the pattern.
What to look for on the front
After a back row, check the front of the panel. The pleats should still stand side by side, the rows should stay level and the fabric should not pucker between bites. If it does, loosen the tension slightly and try again on a fresh scrap.
Common problems
- Confusing the wrong side with the right side after turning the panel. Mark the top edge with a pin.
- Switching thread type between front and back rows, which makes the tension hard to compare.
- Removing holding threads before the back rows are done, so the pleats slide out of line.
For the vocabulary used here, see the glossary.
Keeping notes
Write down which rows were worked from the back, the pleater line each one followed and the thread you used. If you make a second garment from the same plate, the notes save you a test panel and keep both pieces matching.
When a plain row is enough
Every plate on this site is complete without a back row. If you are new to smocking, finish a few plates from the front first, since reading a chart and keeping even tension come before any variation. Add a back row later, once the front rows feel automatic.
Read next
- Geometric Plates for Beginners: Geometric Plates for Beginners: eight printable smocking plates with sizing tables and floss estimates, $19 once, delivered as PDF and SVG.
- Holiday Smocking Plates: Holiday Smocking Plates: eight printable smocking plates with sizing tables and floss estimates, $19 once, delivered as PDF and SVG.
- Honeycomb and Lattice Plates: Honeycomb and Lattice Plates: eight printable smocking plates with sizing tables and floss estimates, $19 once, delivered as PDF and SVG.